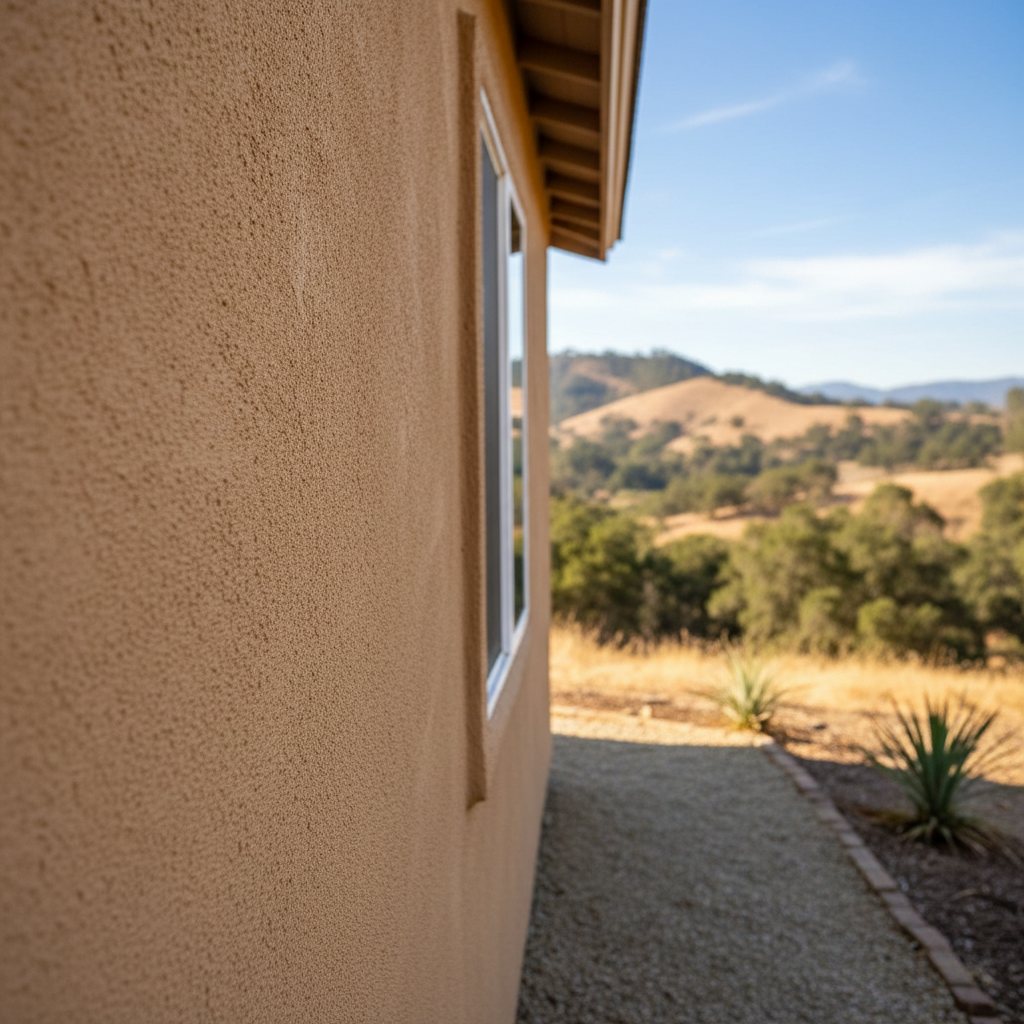
So, your stucco's seen better days, huh? Maybe it's cracked beyond repair, or you're just tired of that dated look. Whatever the reason, deciding to replace your home's stucco is a big step, and you've got questions. That's good. I've been doing this for a long time here in Hollister, and believe me, I've seen it all. Let's talk about what you really need to know before, during, and after a stucco replacement project.
Before You Start: Planning and Prep
First off, don't jump into this without a plan. Replacing stucco isn't like painting a room; it's a major exterior renovation. You're talking about stripping off your home's skin and putting a new one on. It's messy, it's involved, and it absolutely needs to be done right.
- Assess the Damage: Is it just a few cracks, or is the whole system failing? If you've got widespread cracking, water intrusion, or delamination (that's when the stucco separates from the wall), replacement is probably the way to go. If it's minor, maybe a good repair job is all you need. Be honest with yourself about how bad the problem really is.
- Budget Realistically: This isn't a cheap project. Get a few quotes. Understand what's included and what's not. Don't just go for the lowest bid without understanding why it's so low; quality materials and experienced labor cost money for a reason.
- Understand the Scope: Are you just replacing the stucco? Or are you also updating windows, doors, or insulation? Now's the time to think about all those things. It's often more cost-effective to do related exterior work at the same time.
- Permits: Yeah, you'll probably need one. Most major exterior renovations, especially those involving structural changes or significant material replacement, require a permit from the city of Hollister. A good contractor will handle this for you, but it's your responsibility to make sure it happens.
What can you do yourself before the pros show up? Not much in terms of the actual stucco work, honestly. But you can clear the perimeter around your house, move outdoor furniture, trim back bushes, and protect landscaping. That'll save time and make everyone's job easier.
During the Project: What to Expect
Once the project kicks off, things are going to get noisy and dusty. That's just how it is. We're talking about removing old material, often with hammers and chisels or specialized demo tools. Then we're putting up new lath, paper, and multiple coats of stucco. It's a process.
- Demolition: The old stucco comes off. This is where you might find surprises. Sometimes we uncover dry rot, termite damage, or other issues underneath the old stucco, especially in older homes around the Ridgemark area where moisture can be a factor. Be prepared for potential additional costs if unforeseen issues arise. A good contractor will communicate these immediately.
- Sheathing and Weather Barrier: We'll inspect the sheathing underneath and repair any damage. Then, a new weather-resistive barrier (WRB) is installed. This is crucial for keeping water out of your home. Don't let anyone skimp on this part.
- Lath Installation: Metal lath goes up next. This provides the framework for the stucco to stick to.
- Stucco Application: This is the multi-stage process. Typically, it's a scratch coat, brown coat, and then the finish coat. Each coat needs time to cure properly. Don't rush it! This is where the skill of the applicator really shows. The texture and color of your finish coat will define your home's new look.
Can you help during? Not really with the hands-on stuff. It's skilled labor. What you can do is stay out of the way, ask questions, and make sure access to water and power is available. Keep your pets indoors and kids away from the work zone. It's a construction site.
After the Project: Enjoying Your New Stucco
Once the dust settles and the final coat is cured, you'll have a beautiful, durable new exterior. But your job isn't entirely done.
- Curing: Stucco continues to cure for weeks, sometimes months, after application. During this time, it's important to avoid anything that could damage the surface. Don't lean ladders against it, and avoid direct impacts.
- Maintenance: Stucco is low maintenance, but not no maintenance. Keep it clean. A gentle wash with a hose and a soft brush can remove dirt and grime. Inspect it annually for any new cracks or damage, especially after our winter rains. Catching small issues early can prevent bigger, more expensive problems down the line.
- Painting (if applicable): If you opted for a traditional, uncolored stucco finish, you'll need to paint it. Make sure the stucco is fully cured before painting, usually 30-60 days. Use a high-quality elastomeric paint designed for stucco.
For most homeowners, stucco replacement isn't a DIY job. It requires specialized tools, materials, and a lot of experience to get it right and ensure your home is properly protected from the elements. That's why folks call Alpha Stucco Solutions. We're here to make sure your Hollister home looks great and stays protected for decades to come. Don't hesitate to reach out if you're thinking about a stucco refresh.