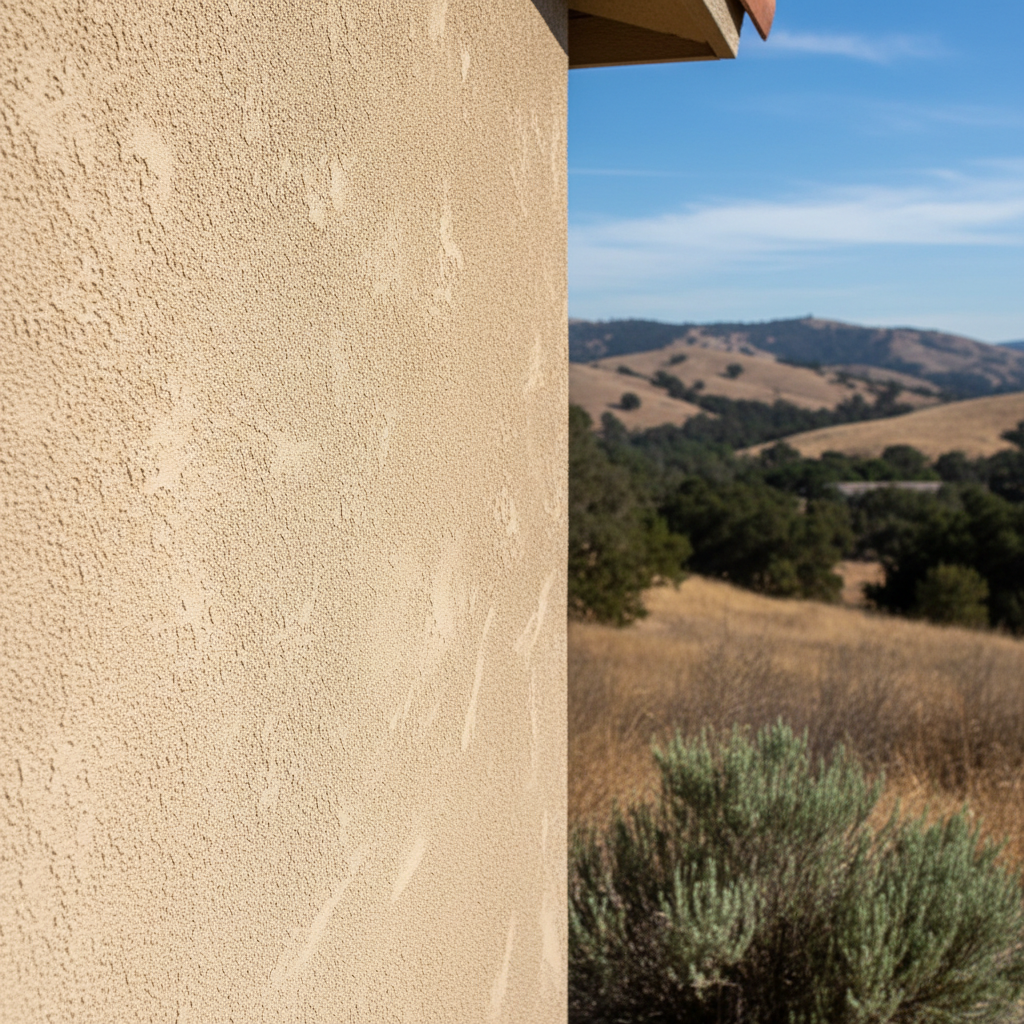
So, you're thinking about giving your Hollister home a fresh stucco look? Good call. Stucco's tough, it looks fantastic, and honestly, with our dry, hot summers and those occasional wet winters, it really holds up. But let's be real here: you're probably wondering what parts of this project you can tackle yourself to save a few bucks, and what absolutely, positively needs a professional touch. I've been in this business for a long time, seen pretty much everything, so let's just break it down.
Before the Stucco Crew Shows Up: Your DIY Checklist
There's definitely some prep work you can do before anyone from Alpha Stucco Solutions even steps foot on your property. This isn't just about saving money, you know; it actually makes the whole process smoother and quicker once the pros get here.
- Clear the Area: This sounds super obvious, but honestly, you'd be surprised. Go ahead and move all your outdoor furniture, grills, planters, kids' toys — anything within, say, 10 to 15 feet of the walls. If you've got big bushes or small trees right up against the house, you might want to trim them back, or even think about moving them temporarily. We just need clear access to every single square inch of that wall.
- Protect Your Plants and Landscaping: You've put a lot of work into your garden, I get it. We'll do our very best, but stucco work is inherently messy. Cover any plants you want to save with tarps or plastic sheeting. For anything really delicate or super close to the foundation, maybe even dig it up and pot it for a few weeks. Better safe than sorry, right?
- Deal with Downspouts and Fixtures: Any downspouts, light fixtures, hose bibs, or anything else attached to the wall that sticks out needs to be taken off or at least loosened so we can get behind it. Don't worry, we'll put them back. But it's a huge help if you've done the initial unfastening. Just make sure to label wires if you're disconnecting lights!
- Window and Door Prep: We'll definitely protect your windows and doors, but if you've got old, peeling paint around the frames, now's a great time to scrape and sand it. We're going to be sealing around those openings, and a clean, smooth surface helps us get a better, longer-lasting seal.
- Check Your Sprinklers: Make sure your irrigation system isn't going to turn on during working hours. Wet walls mean delays, and nobody wants that. Set a temporary schedule or just turn it off for the duration of the project.
During the Stucco Installation: Hands Off, Mostly
Once the actual stucco work starts, this is where you really need to step back and let the professionals do their thing. Stucco isn't just about slapping mud on a wall; it's a multi-layered system that requires specific techniques, materials, and curing times. This isn't a DIY job for a homeowner, especially not for a whole house.
- Lath and Scratch Coat: We'll be attaching metal lath to your walls, then putting on the first layer, which we call the scratch coat. This needs to be applied evenly and then